HAWA Concepta Adjustment Instructions

The Hawa Concepta III is a premium pivot sliding door system widely used in modern kitchens, wardrobes, and fitted furniture projects across the UK. This guide explains the full installation process in a clear, structured way, so installers, contractors, and designers can follow along using:

HAWA Concepta Adjustment Instructions 15

Before You Start

  • Official installation PDF
  • Installation video
  • Step-by-step images (you can insert these below each step)

This system requires precision installation. Before beginning:

  • Read the full installation PDF
  • Watch the installation video at least once
  • Check all measurements carefully

Important Rule:
Every arrow in the PDF shows a direction of movement or rotation. Always follow these exactly.

Step 1: Cabinet Preparation

The Hawa Configurator: Personalize your system

  The Hawa Configurator simplifies the customization of your sliding door system. This intuitive tool lets you visualize, configure, and order the perfect system for your project. The 3D design feature allows you to see and interact with system components, even removing panels to understand how everything fits together.

At the end of the process, the tool generates a detailed PDF with:

  • Recommended system specs
  • cutting list for custom sizes
  • CAD files for designers and architects

This makes ordering faster and more accurate customers can send the PDF directly, speeding up the process. Play around with the tool to see how different settings change your design, and make sure everything is exactly as you need.

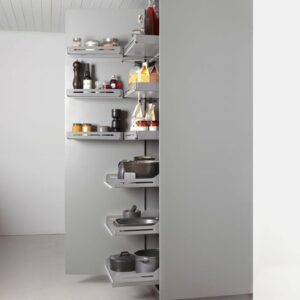
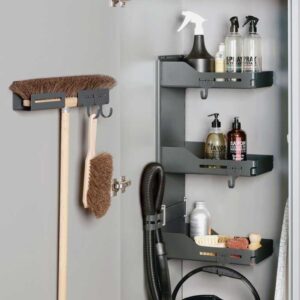
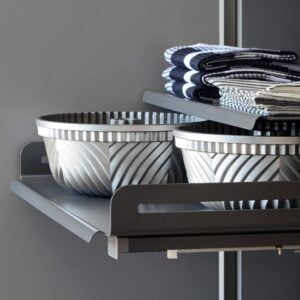
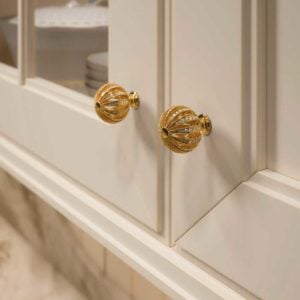
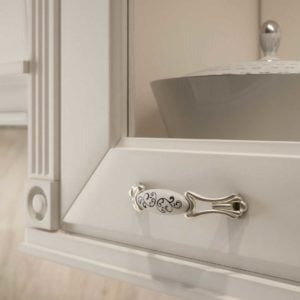
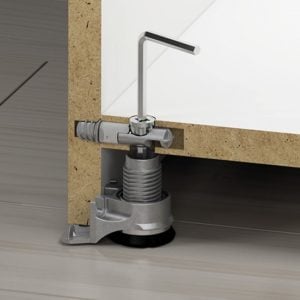
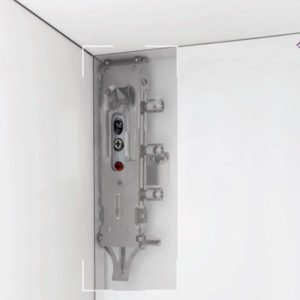
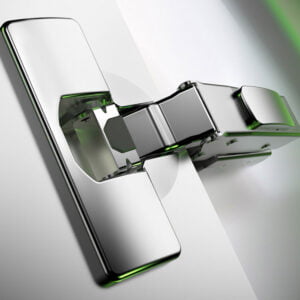
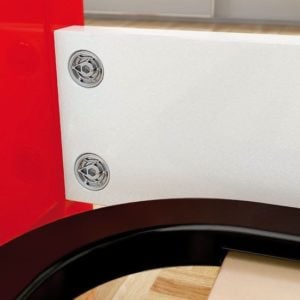
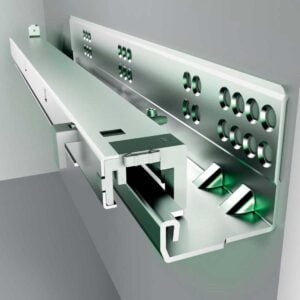
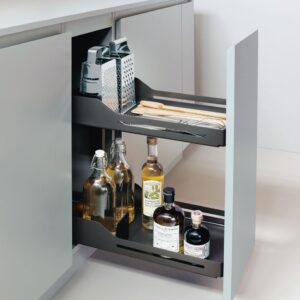
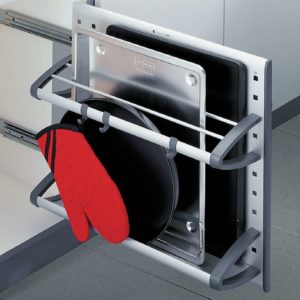
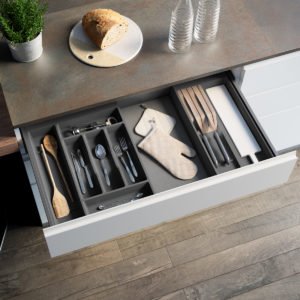
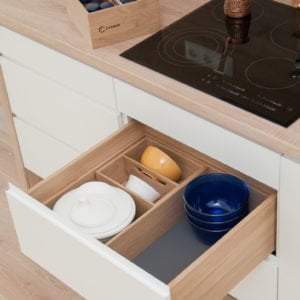
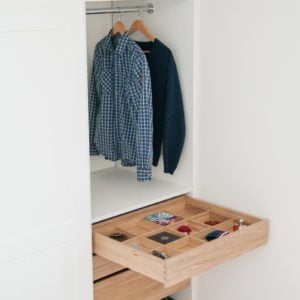
The cabinet must be perfectly prepared before installing any hardware.

What to check:

  • Internal width, height, and depth match the PDF
  • Cabinet is square and level
  • Panels are rigid and securely fixed

Use the PDF:
Check exact minimum and maximum dimensions

Watch video:
Look at how cabinet alignment affects door movement

How to Use the HAWA Configurator

  1. Open the HAWA Configurator
  2. Select Concepta 3 or Folding Concepta 3
  3. Choose your door configuration
  4. Enter your project dimensions
  5. Follow the configurator steps
  6. Download the generated technical documentation and PDFs

Step 2: Install the Top Track

The top track is the main load-bearing component.

Installation:

  • Mark drilling positions precisely (from PDF)
  • Fix the track securely
  • Use a spirit level to ensure perfect alignment

Critical:
Even small misalignment will affect door movement.

Follow:

  • Hole positions
  • Fixing distances

Watch:

  • Proper track alignment technique

Step 3: Install the Bottom Guide System

Steps:

  • Install bottom guide components
  • Align with the top track
  • Check straight movement path
Important:
This system is not a simple slider—alignment must match the pivot mechanism.

 Use PDF for:

  • Exact positioning
  • Tolerances

Use video to:

  • Understand movement direction
HAWA Concepta Adjustment Instructions 16

Step 4: Prepare the Door Panels

HAWA Concepta Adjustment Instructions 17

Step 4: Door preparation must be done accurately.

What to do:

  • Drill all required holes using the template
  • Install pivot fittings and hardware
  • Attach running components

Very Important:
Incorrect drilling = system failure.

Always:

  • Use drilling template from PDF

Watch:

  • Exact positioning of hardware

Step 5: Mount the Doors

Now the doors are installed into the system.

Process:

  • Insert door into top track
  • Connect the bottom guide
  • Engage the pivot mechanism

Follow:

  • Exact sequence from PDF

 Watch:

  • How installers safely position the door
HAWA Concepta Adjustment Instructions 18

Step 6: Adjust the System

Adjustment ensures smooth, premium operation.

Adjust:

  • Door height
  • Side alignment
  • Closing position
Important: Rotate the adjustment screws only in the shown direction. Do not force the mechanism in the opposite direction.

 Use PDF: Adjustment screw locations

 Watch: Real adjustment examples

HAWA Concepta Adjustment Instructions 19

Step 7: Final Testing

HAWA Concepta Adjustment Instructions 20
HAWA Concepta Adjustment Instructions 21

Test the system thoroughly.

Check:

The diagram indicates the correct adjustment procedure and screw rotation direction.

  • Adjust only in the shown direction.
  • Use a 3 mm hex key.
  • Keep the mechanism locked during adjustment.
  • Incorrect adjustment may affect door movement and alignment.
  • Smooth opening and closing
  • Full concealment
  • No resistance or noise

Critical Installation Rule – Follow All Arrows in the PDF

The installation PDF includes directional arrows at every stage.

These arrows show:

  • Direction to rotate screws
  • Movement direction of parts
  • Correct orientation of components

 If you ignore arrows:

  • The system may not function correctly
  • Components may be installed incorrectly
  • Doors may not align or slide properly

Always stop and check arrows before each step

Folding Door Systems for Kitchens in the UK

The Hawa Concepta III is one of the most advanced solutions for:

  • Kitchen pocket doors
  • Hidden workspaces
  • Minimalist interiors

Why professionals choose it:

  • Clean, handle-less design
  • Space-saving functionality
  • High-end architectural finish

Final Advice

The Hawa Concepta III is not a basic system—it requires:

  • Careful reading of the PDF
  • Watching the video at every stage
  • Precise installation work
At Gamma Fittings, we strongly recommend using:
  • PDF instructions
  • Installation videos
  • Step-by-step visual references